I take lots of pictures on my mobile phone of nearly everything. Whenever I fuel up my car, I take a picture of my dashboard so that I can remember the date and odometer to be able to calculate my fuel consumption. Another case would be each time I go to supermarket, I take a picture of the receipt provided so that I’ll be able to keep track of my expenses. Going Hiking with friends are also great opportunities to take more pictures. How to sort out everything? Fortunately we have lots of machine learning tools out there. I chose Tensorflow not because I found it to be the best but simply because it has more buzz around it.
Let’s start by viewing our files in Nextcloud which are synced with my Phone.
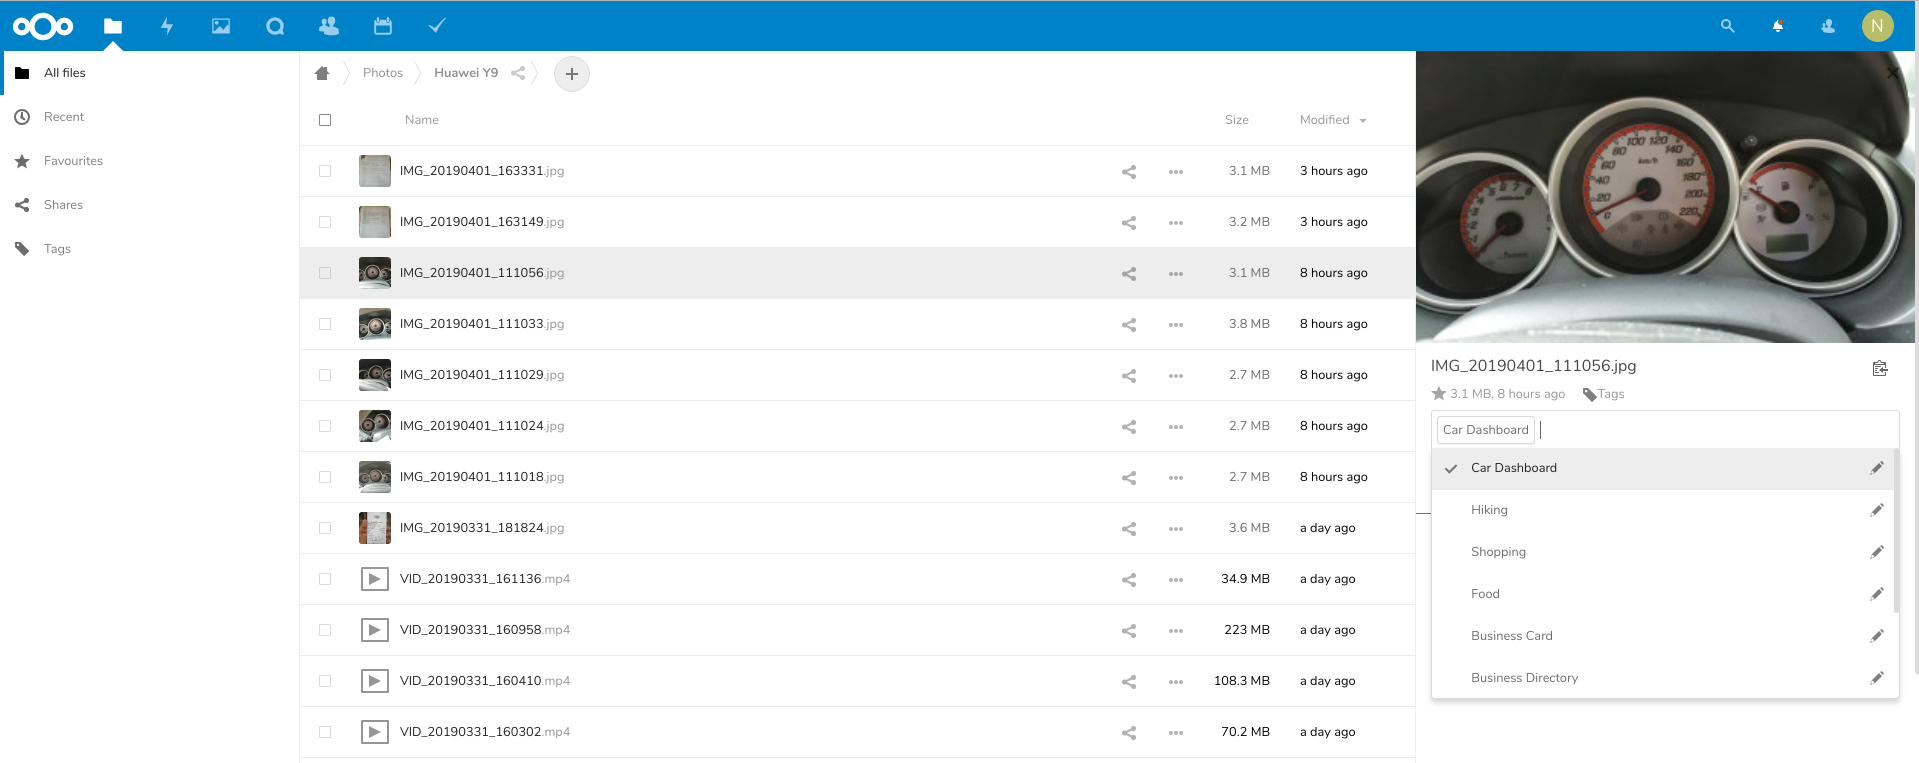
In the above example, I manually looked for car dashboard pictures and tagged them as “Car Dashboard”. Let’s do the same with supermarket receipts, business cars and hiking pictures. I found that we need atleast 30 pictures for TensorFlow to not crash. In case I was feeling lazy, I would just copy/paste the same pictures till I get 30. I am lazy.
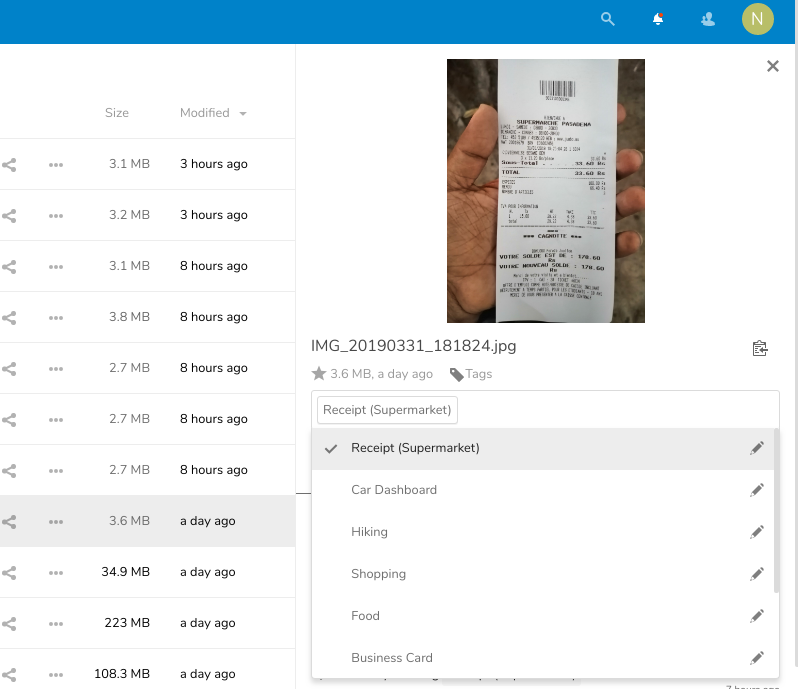
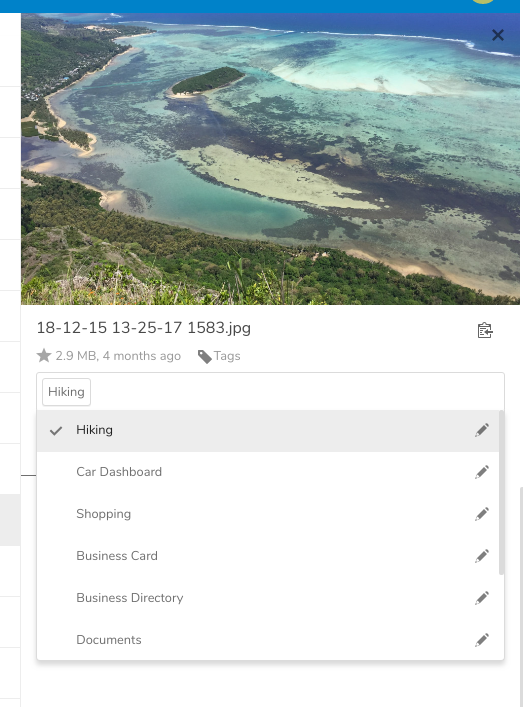
Now that it’s all done with like a few, lets download TensorFlow for Poets 2. You may follow instructions from here: https://codelabs.developers.google.com/codelabs/tensorflow-for-poets/#0
TensorFlow for Poets require you to put your training images into their respective category folder. So we need to download the images we just tagged in the proper way. Nextcloud Offers a WebDAV API as standard. Unfortunately classic python DAV clients would not suffice for our task. We’ll have to create our own methods and overload some.
#git clone https://github.com/CloudPolis/webdav-client-python
sys.path.append(os.path.dirname(os.path.realpath(__file__)) + '/webdav-client-python')

import webdav.client as wc
from webdav.client import WebDavException

class NCCLient(wc.Client):
  pass
We write a function which will download the pictures for each tags specified by their ID and put them inside /tmp/nc/{categoryid}
def download_training_set():
  try:
    client = NCCLient(options)
      for tag in ['2','9','1','3','11','12','14']:
        index = 0
        try:
          os.mkdir("%s/%s/" % (options['download_path'],tag))
        except:
          pass
	for filepath in client.listTag("/files/Nayar/",tag):
	index = index + 1
	filepath = filepath.path().replace('remote.php/dav','')
	local_filepath = '/tmp/nc/%s/%s' % (tag,os.path.basename(filepath))
	if(os.path.isfile(local_filepath)):
	  pass
	else:
	  client.download_file(filepath,local_path=local_filepath)
	if(index > 200):
	  break
	except WebDavException as exception:
		pprint.pprint(exception)
The method listTag is not present in the default DAV classes so we have to write our own in our extended class
Now that we have all our images in their respective folders, we can run TensorFlow for Poets.
IMAGE_SIZE=224
ARCHITECTURE="mobilenet_0.50_${IMAGE_SIZE}"

python3 -m scripts.retrain   --bottleneck_dir=tf_files/bottlenecks   --how_many_training_steps=100   --model_dir=tf_files/models/   --summaries_dir=tf_files/training_summaries/"${ARCHITECTURE}"   --output_graph=tf_files/retrained_graph.pb   --output_labels=tf_files/retrained_labels.txt   --architecture="${ARCHITECTURE}"   --image_dir=/tmp/nc/
What’s left now is to download all images from Nextcloud and try to label them with the TensorFlow model. We write the classify_data() function. All images downloaded are renamed as follows /tmp/nc_clasify/{nextcloudfileid}.png.
When the classify function is run on each of the images, they are renamed if the label accuracy is greater then 99.9%. Else they are deleted. The renaming scheme is as follows /tmp/nc_classify/{tagname}-{tagid}-{nextcloudfileid}.jpg
We have to manually check if some images are mislabeled and we simply delete them from the folder. Finally we need to send the labelled images info back to NextCloud. We write the function as follows:
def update_classification():
  client = NCCLient(options)
  files = os.listdir('/tmp/nc_classify/')
  for f in files:
	match = re.search('(.*)-(.*)-(.*).jpg', f)
	print(match.group(2),match.group(3))
	client.putTag(int(match.group(3)),int(match.group(2)))
	os.remove('/tmp/nc_classify/' + f)
The putTag function is also custom. Please see the gist. And there you go.
Repeat the same process multiple times till your training data get bigger and bigger and it starts to classify more and more images.
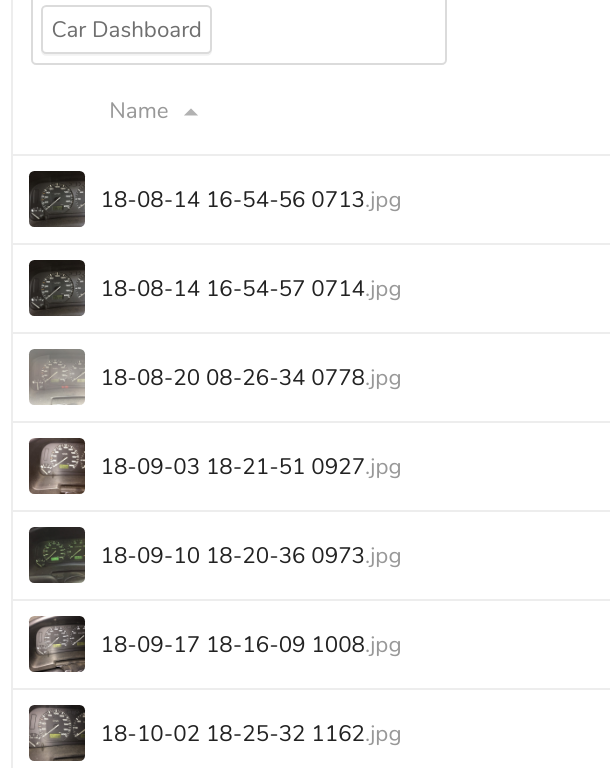

Now the next step would be to dig deeper into tensorflow and OCR to automate lists of items I buy from the supermarket and make it generate reports for me.
This is a fascinating deep dive into automating image tagging with TensorFlow and Nextcloud. The custom WebDAV client and the lazy copy-paste trick for training data are particularly clever. It makes me wonder if a tool like Reference2Video could take this a step further by generating visual summaries or even short clips from these tagged image collections, turning your organized photo library into dynamic stories.
reference to video ai
This is a really practical workflow for organizing photos automatically. I appreciate the detailed explanation of using WebDAV to pull tagged images from Nextcloud for training. One thing that comes to mind: since you’re dealing with personal photos, especially receipts and dashboard pictures, you might want to consider stripping metadata before sharing or syncing them. Tools like AI Metadata Remover can clean EXIF and GPS data locally in the browser, which adds a nice privacy layer to your automated pipeline.
remove ai metadata
This is a fascinating walkthrough of automating image tagging in Nextcloud with TensorFlow. I appreciate the practical examples like tagging car dashboards and receipts—it really shows how useful this can be for personal organization. The custom WebDAV client workaround for Nextcloud’s API is clever, and the step-by-step code snippets make it easy to follow. For anyone using DeepSeek Plugins, this approach could be extended to manage and categorize plugin files or documentation images, making it easier to find relevant plugins by visual content. Thanks for sharing this detailed guide!
dsh plugin
The workflow of automating image tagging in Nextcloud is impressive, and I can see how organizing those photos of receipts and dashboards would save time. Since you’re already handling a lot of files, keeping the metadata clean on any PDFs you might generate from those images could be a nice complement. A tool like PDF Meta Editor, which works entirely in the browser without uploading files, would let you strip or adjust metadata on those PDFs privately, ensuring no extra data leaks when you share them. It’s a small but useful step for privacy-conscious workflows like yours.
edit pdf metadata
I really like your approach of using TensorFlow to categorize your photos automatically. I also take tons of pictures, especially of receipts and hiking trails, and sorting them manually is a pain. By the way, if you’re into creative tech, you might enjoy trying out this gesture synth for making music with hand movements.
Solid walkthrough, appreciate that you included the parts that didn’t work first try. I maintain an Anime Origins Wiki for a Roblox game and dealing with messy classification and tagging problems there is a smaller version of what you describe.
Nice write-up — walking through a real TensorFlow pipeline is far more useful than abstract tutorials. Automation like this made me think about the other place I rely on it: email. I now automate pre-send checks of my mail servers, and a free SMTP test tool is part of that loop. Small automation habits compound, exactly as you show here.