Abstract
To control the GPIO pins of my raspberry pi, I am using WebIOPi framework. You can thus have a web page to remotely control the GPIO from a laptop, mobile phone or anything web capable on ‘http://192.168.1.x:8000’ where x is the Raspberry Pi on your LAN. You get an interface like this:
WebIOPi REST API learnt from bash
WebIOPi provides a REST API. Here’s the API reference: https://code.google.com/p/webiopi/wiki/RESTAPI
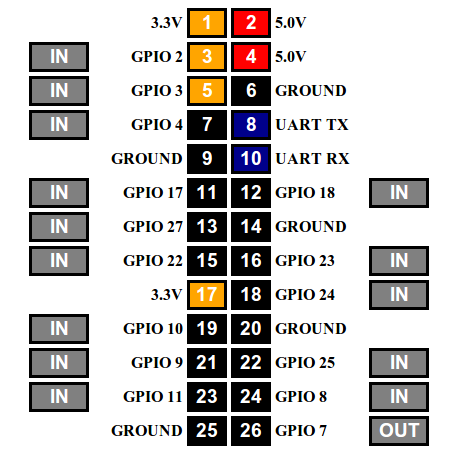
I’m assuming you have already installed WebIOPi on your Raspberry Pi and the daemon is running.
1.Install curl on my laptop.
$ sudo apt-get install curl
2. Testing a few commands to see if work. (-u username:password)
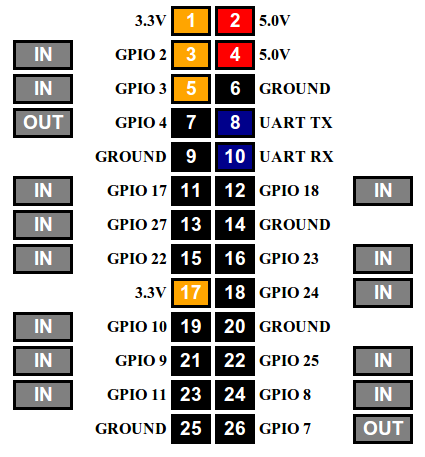
2.1 Making GPIO 4 as OUT
HTTP GET /GPIO/(gpioNumber)/function
Returns “in” or “out”
$ curl -v -X POST -u webiopi:raspberry http://192.168.1.x:8000/GPIO/4/function/out
The web interface displays the change automatically.
HTTP POST /GPIO/(gpioNumber)/value/(0 or 1)
Returns new value : 0 or 1
$ curl -v -X POST -u webiopi:raspberry http://192.168.1.x:8000/GPIO/4/value/1
Qt
To create the above call in Qt C++, it is done like this:
#include<QDebug>
#include<QNetworkAccessManager>
#include<QUrl>
#include<QNetworkRequest>
#include<QNetworkReply>
 int main(int argc, char *argv[])

{

   int no = 4; // GPIO number

   int value = 1; // 1 or 0 for On and Off

   QNetworkAccessManager*manager=newQNetworkAccessManager(this);
   QUrl url("http://192.168.1.6:8000/GPIO/"+QString::number(no)
+"/value/"+QString::number(value));
url.setUserName("webiopi");
url.setPassword("raspberry");
QNetworkReply *reply = manager->post(QNetworkRequest(url),"");
   qDebug() << reply->readAll();
}

You just need to change the URL each time for different functions ;)
Next, i’m gonna create a UI in QML to control the GPIO so as to be able to be used to make a remote controlled car. Stay tuned 🙂
nice