https://www.youtube.com/watch?v=tXBwcedQuQ0
Category: Technology
Can Debian Stretch run on Ubuntu 16.04 LTS via LXC/LXD?
There is this never ending flame wars about whether Debian or Ubuntu is better. My personal servers have been historically on Ubuntu LTS due to the fact that they are known to have more updated packages that Debian. As I was planning to try MariaDB’s Galera cluster, I found that Debian Stretch has a more recent version of MariaDB than Ubuntu 16.04LTS.
No problem! I’ll run MariaDB inside a Debian container rather than an Ubuntu’s one. Here’s how to proceed:
# We download and create a container based on debian/stretch and we’ll call the VM mariadb-1
lxc launch images:debian/stretch mariadb-1
# We install an SSH server inside the VM to access it
lxc exec mariadb-1 — apt-get install ssh
# I put my public key inside the VM so that I can SSH into it.
# But before that, we need to create the .ssh directory
lxc exec mariadb-1 — sh -c ‘mkdir -p /root/.ssh/’
lxc exec mariadb-1 — sh -c ‘echo “ssh-rsa AAAAB3N…+j/ nayar@macbook.local” > /root/.ssh/authorized_keys’
# The keys should be readable only by the owner
lxc exec mariadb-1 — sh -c ‘chmod -R 600 /root/.ssh/’
And now your container should be accessible via SSH. You can use it like a VM. You may use the command below to find it’s IP
lxc list
| mariadb-1 | RUNNING | 10.195.197.123 (eth0)
Tips: If by doing so, the VM still asks you for password while trying to ssh on it, make sure you have properly pushed your ssh agent. On your laptop, try the following
ssh-add -k
ssh -A root@myserver.com “ssh root@10.195.197.123“
Don’t repeat the same procedure for every container you need to create. Just copy from one:
lxc copy mariadb-1 mariadb-2
There you go. You have a new container under 5 seconds. Hope you liked this mini tutorial. Feel free to comment below.
UNIX: Root denied permission to modify files
WordPress notified me that an update was due. There are different ways to allow WordPress to update itself from the admin panel. One would be to use your FTP credentials (which I don’t have) and the other would be to give WordPress permission to edit its files i.e. give `www-data`, the user who run the web server, permission to read/write in /var/www.
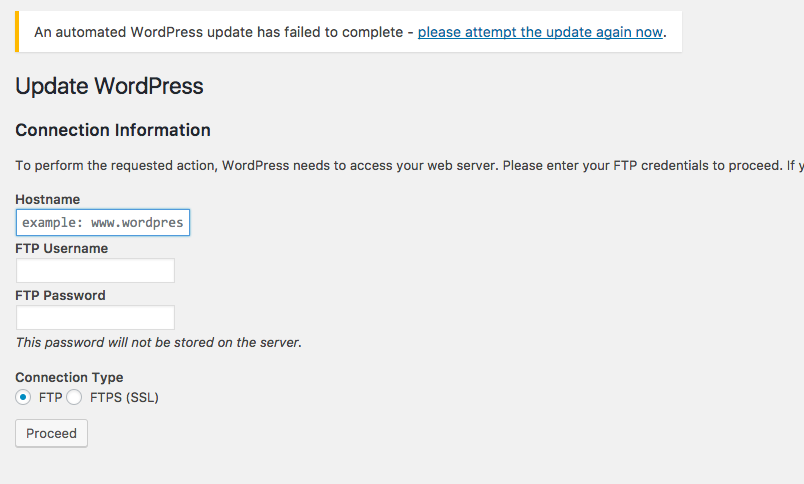
However by doing so, I’d get a permission denied error:
root@apache:/var/www# chown -R www-data: nayarweb.com
chown: changing ownership of 'nayarweb.com/poweredbynayarweb.png': Operation not permitted
When you’re actually root, it’s not common to be denied rights to do stuffs. The files were owned by `nobody`.
-rwxrwxrwx 1 nobody nogroup 8.1K Oct 9 2013 poweredbynayarweb.png
Reading some stackoverflow posts, someone suggested that the files might not be owned by the OS as it might be mounted from a remote location. It is the source server who actually decides what could be done with the files. One common case of the scenario is mounting your files via NFS. Then I realised that my apache VM is actually an LXD container on a KVM host.
I had to find to uid with which apache (`www-data`) was running inside the LXD container. In my case, it was 100033. Running the following command on my LXD host machine fixed the problem
chown -R 100033 /var/lib/lxd/.../nayarweb.com/
RFID and LoRa on Arduino
Last time I got a LoRa Server and LoRa Client to communicate to each other. It was about time to give them something to talk about i.e. start exchanging sensor data rather than just “Hello World”.
RFID tags
I plugged in my RFID reader which I bought like a years ago. My Arduino UNO was getting scrambled data on its serial. I tried connecting the RFID reader alone. The Arduino detected the device but whenever I’d place an RF tag on it, no data would be read.
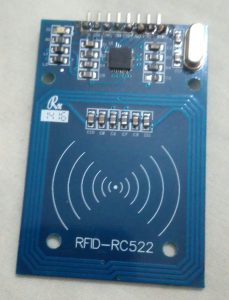
The forums suggested to solder the pins on the board for better connection but it didn’t work in my case. Most probably my device was faulty.
Fortunately my friend Damien from DM Electronics had the device is his stock which he sold to me. I’d highly recommend you to buy your electronic devices from there if you’re in Mauritius. He’s an awesome guy who has a deep understanding about how the devices actually operate on the inside.
https://www.youtube.com/watch?v=23aMjljCLZI
I followed the tutorial above with Damien’s RC522 and it worked. But this is only half of my problems. I still need to put the LoRa shield back on.
Making LoRa and RFID reader work together
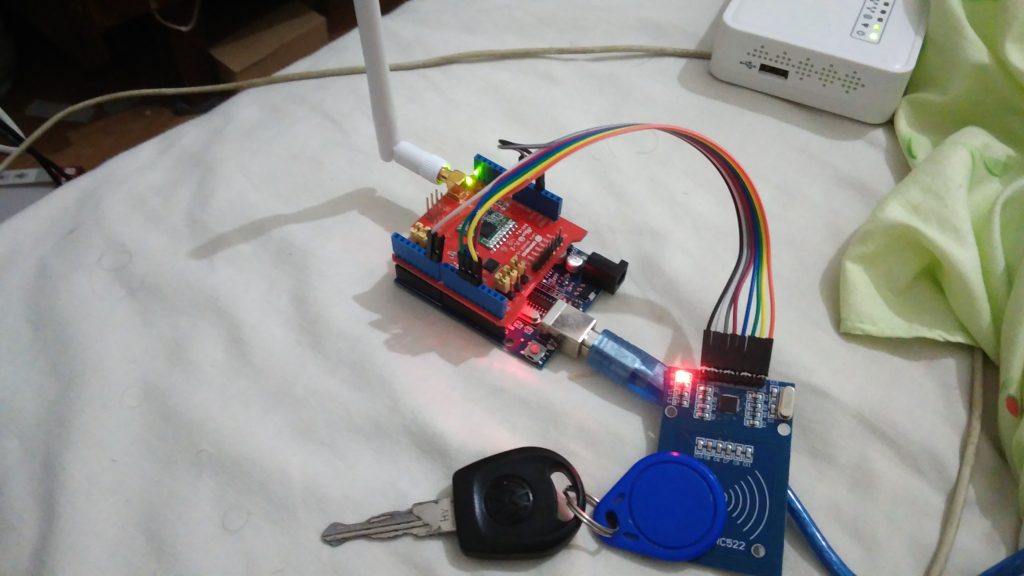
The LoRa shield and RC5222 use Serial Peripheral Interface (SPI) to communicate with the Arduino. SPI was new to me since I was familiar with 3 pin sensors (Ground, 3.3V and Data). SPI consists of:
- 3.3V: Provides power. Easy
- Ground: Well, ground
- RST: Reset: Still no idea what it does. Can you tell me in the comments?
- SS: Slave Select: It sends a signal when the device shall listen and transmit data.
- MOSI: Master Out Slave In: The line which is used to receive data from the Arduino
- MISO: Master In Slave Out: The line which is used to send data to the Arduino.
Since the SS line exists, it should be possible to mute the RFID reader while LoRa is transmitting/receiving data. The MFRC522 library allows the user to set a custom SS and RST pin.
#define RST_PIN 6
#define SS_PIN 7

MFRC522 mfrc522(SS_PIN, RST_PIN);
The default 9,10 pins will be used by LoRa and 6,7 pins will be used by RFID Reader. I tried manually setting turning of LoRa shield by setting the SS pin high without success
pinMode(10, OUTPUT);      // sets the digital pin as output
digitalWrite(10, HIGH);
Reading the source code of the SPI library (“SPI.h”), I came across the method `end()`. The RH_RF95 library also has a `sleep()` method. My final code looks like this:
void setup() {
  Serial.begin(9600);
}

void loop() {
  readCard();
  delay(5000);
}

void readCard() {
  SPI.begin();
  mfrc522.PCD_Init();
  ...
  SPI.end();
  lora(datafromcard);
}

void lora(String data) {
  rf95.init()
  ...
  rf95.send(data.c_str(), data.length());
  ...
  rf95.sleep();
}
And there you go. LoRa and RFID working together.
PeerVPN
What is a VPN?
VPNs means Virtual Private Network. It is way to connect multiple machines located in different regions together as if they were in a LAN. For example, in Mauritius, if your have Orange’s MyT at home, your router’s internal IP would most likely to be `192.168.100.1`.
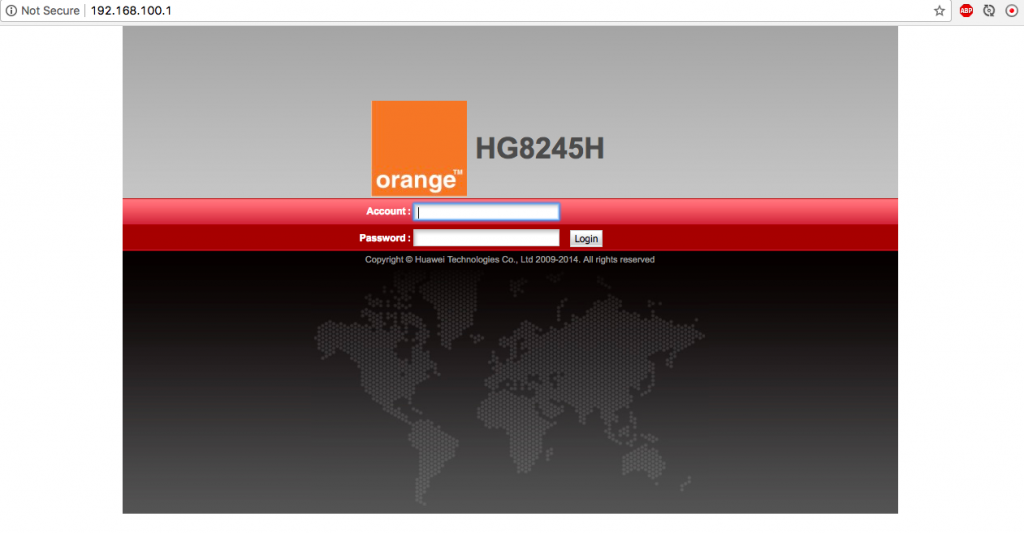
Your laptop, mobile phone or Smart Home Appliances will have an IP in the range `192.268.100.2` to `192.168.100.254`. You cannot access these devices outside of your home without doing some tricks on your router configurations. This is where VPNs come in. If you are at work or on the move, you can still access your devices as if you were connected actually at home.
This would make more sense for businesses who have multiple region of operations but would still like all there IT devices to freely share information among themselves as if they in the same building. Examples would be a Manager printing a document in the office’s printer while he’s travelling in bus.
The problem with popular VPNs
Popular VPN solutions are centralised – meaning they depend on a single point such as a known server. Problem is when the server happens to be off-service, the whole VPN goes down. Furthermore, all the traffic is routed to the single server before being dispatched to their respective recipients.
PeerVPN comes in
PeerVPN is a very lightweight peer-2-peer VPN. You can initialise it with 2 nodes. When more nodes join in, it doesn’t matter if the first 2 are still in.
PeerVPN is so small that it took less that 1 minute to compile on my Raspberry Pi 3. You can find the codes here: https://github.com/Nayar/peervpn
Performance
I noticed an increased of like 4-5ms when pinging between my VPSs’ servers on the cloud. However I noticed the ping to be 25ms faster when pinging my VPSs’ from my Raspberry Pi at home.
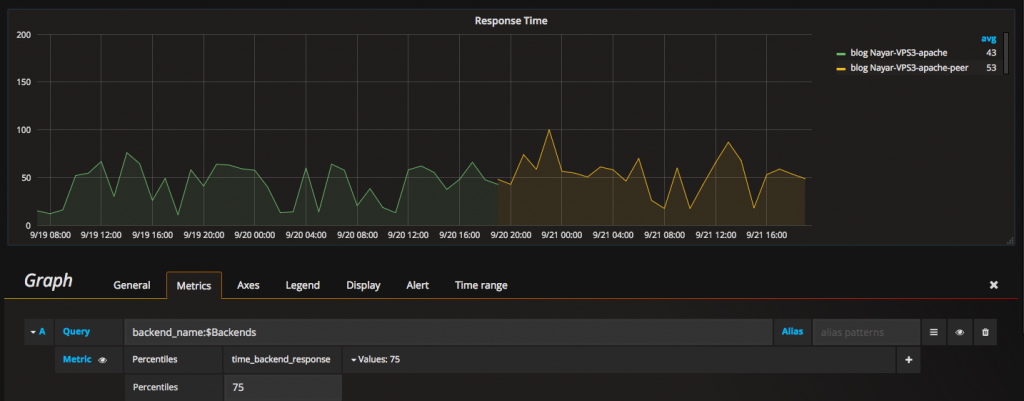
The HAProxy 75th percentile backend response time increased by 10ms. I think it’s not bad compared to the benefits of the encryption and ease which it provides.
Drawbacks
– The author hasn’t updated the code since 2 years now.
– Security might not be as updated.
I hope this project revives. I gotta test Meshbird to see how it compares to PeerVPN. Have you ever used any of these types of VPNs?